DIY Your Own Custom Plush: Create a Magical, Huggable Toy from Your Original Design
Have you ever dreamed of turning your hand-drawn sketches or favorite characters into soft, adorable plush toys? If you’re already passionate about plushies, designing your own custom plush toy will be a fun and rewarding creative project.
This guide will walk you through the entire process—from concept to cuddle—to create your very own DIY custom plush toy, while sharing secrets to give your creation a professional-quality finish.
Step One: Start with a Simple Design
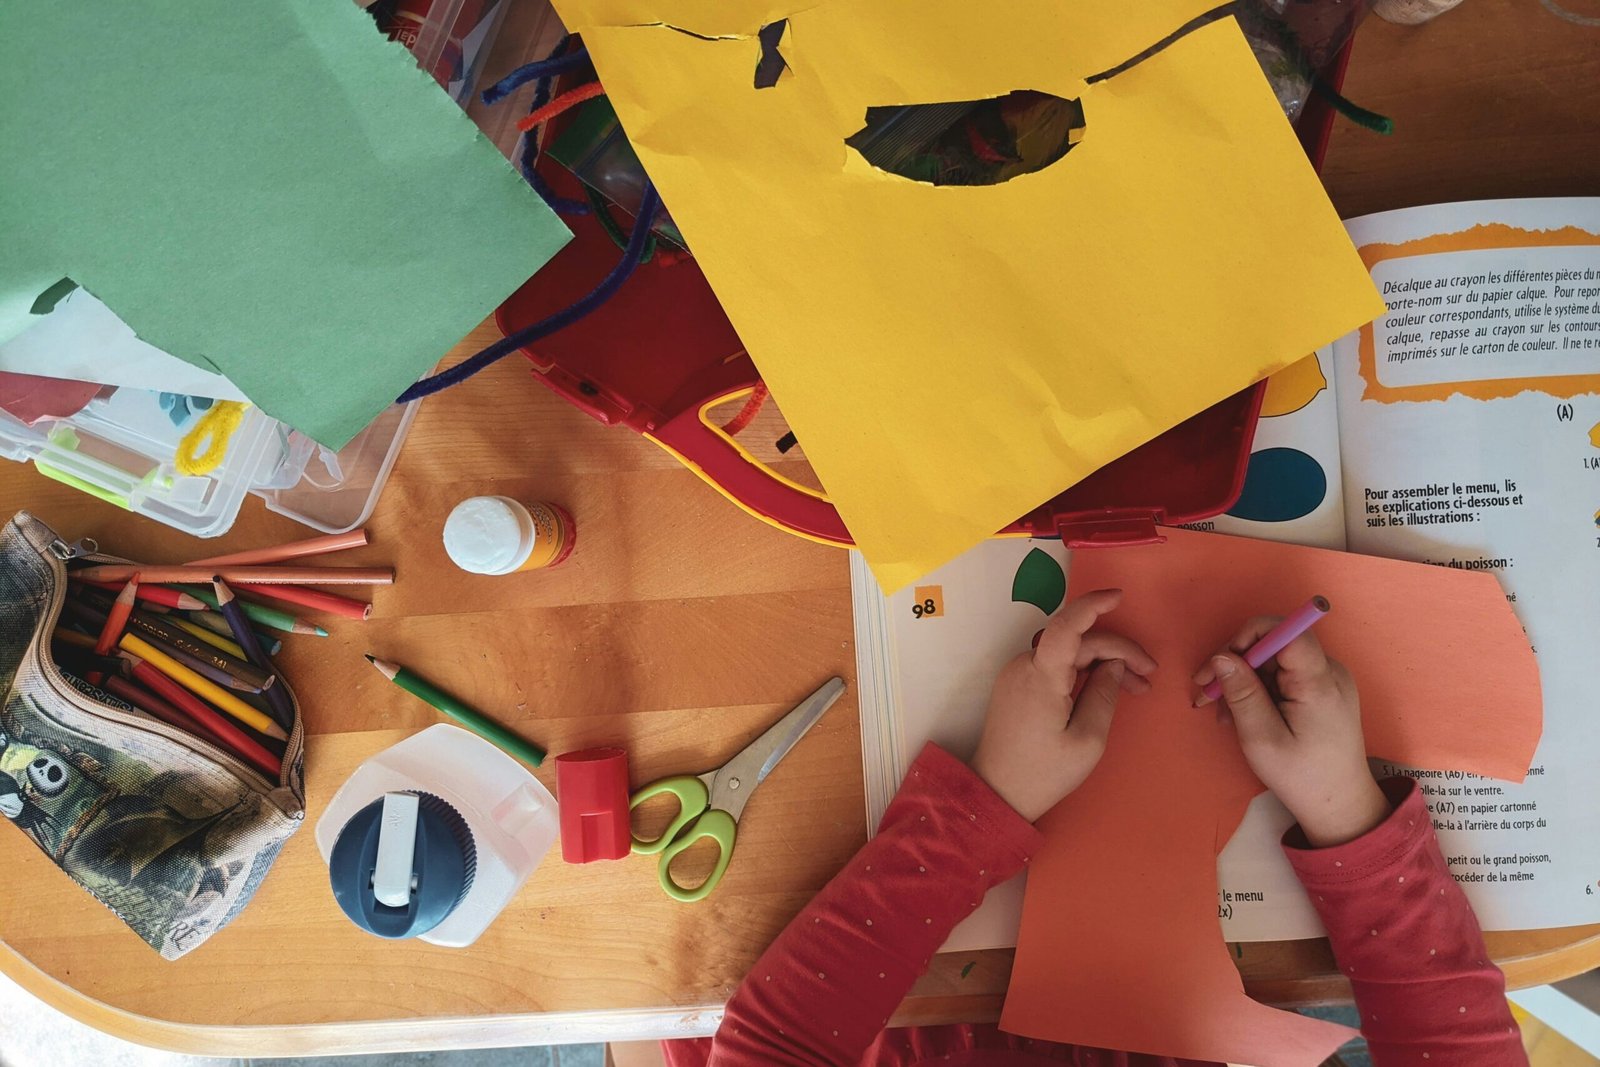
First, sketch your plush toy concept on paper. Keep it simple—clear outlines and a few defining features are easier to achieve.
You can draw inspiration from adorable characters in animations, interesting animals, landscapes, or food elements you’ve seen while traveling. Browse online images or flip through art books to let your ideas take shape on paper.
Step Two: Selecting Tools
Once the design draft is finalized, gather the necessary materials and tools for production.
Fabric: Plush fabric is the core material for creating plush toys. Short plush fabric offers a soft, smooth feel, while long plush fabric creates a fluffy, furry effect. For color selection, soft pastel tones convey a gentle and elegant vibe, while bright colors make the toy more eye-catching!
Filling Material: Common fillings include PP cotton, which is lightweight and elastic, giving plushies a full yet soft feel. For a more luxurious texture, down filling is an option, though it comes at a higher cost.
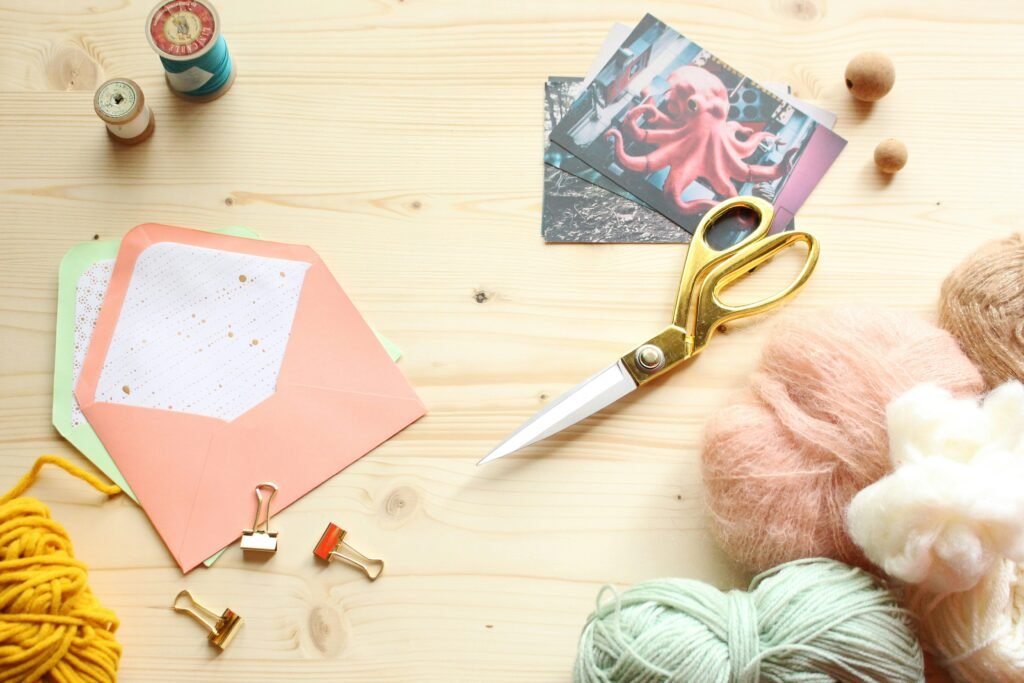
Other Tools: Scissors, needle and thread (or sewing machine), water-soluble pen (or air-erasable pen), pins.
Step Tree: Create Patterns and Cut Fabric
Using a water-soluble pen, carefully trace the shapes of each component—head, body, limbs, etc.—onto the fabric according to the design drawing.
Tip: Ensure lines are clear and precise when drawing, as this affects the final appearance of the plush toy.
After tracing, cut along the lines with scissors. Keep the fabric flat while cutting to ensure seamless assembly of all parts.
Step 4: Sewing the Stuffed Toy
Sew together the cut fabric pieces. Begin with the body section: align the front and back body fabric pieces, pin them in place, then hand-stitch along the edges.
Leave a small opening for stuffing. Turn the toy right side out through this opening and evenly stuff it with filling material.
Similarly, sew the doll’s head, limbs, and other parts in sequence. When sewing joint areas, use specialized techniques like hidden stitching or adding movable joints to allow flexible limb movement.
Step 5: Adding Personalized Details for the Custom Plush
To make the plush toy more lively and adorable, some decorative touches are needed. You can embroider facial features like eyes, nose, and mouth using colored silk thread. Alternatively, use fabric scraps, buttons, ribbons, and other materials to create clothing, hats, scarves, and other accessories for the custom plush. You can also add personalized touches—such as embroidering your name, favorite patterns, or a heartfelt message—to make this custom plush truly one-of-a-kind.
Step 6: Display, Gift, or Sell Your Custom Plush
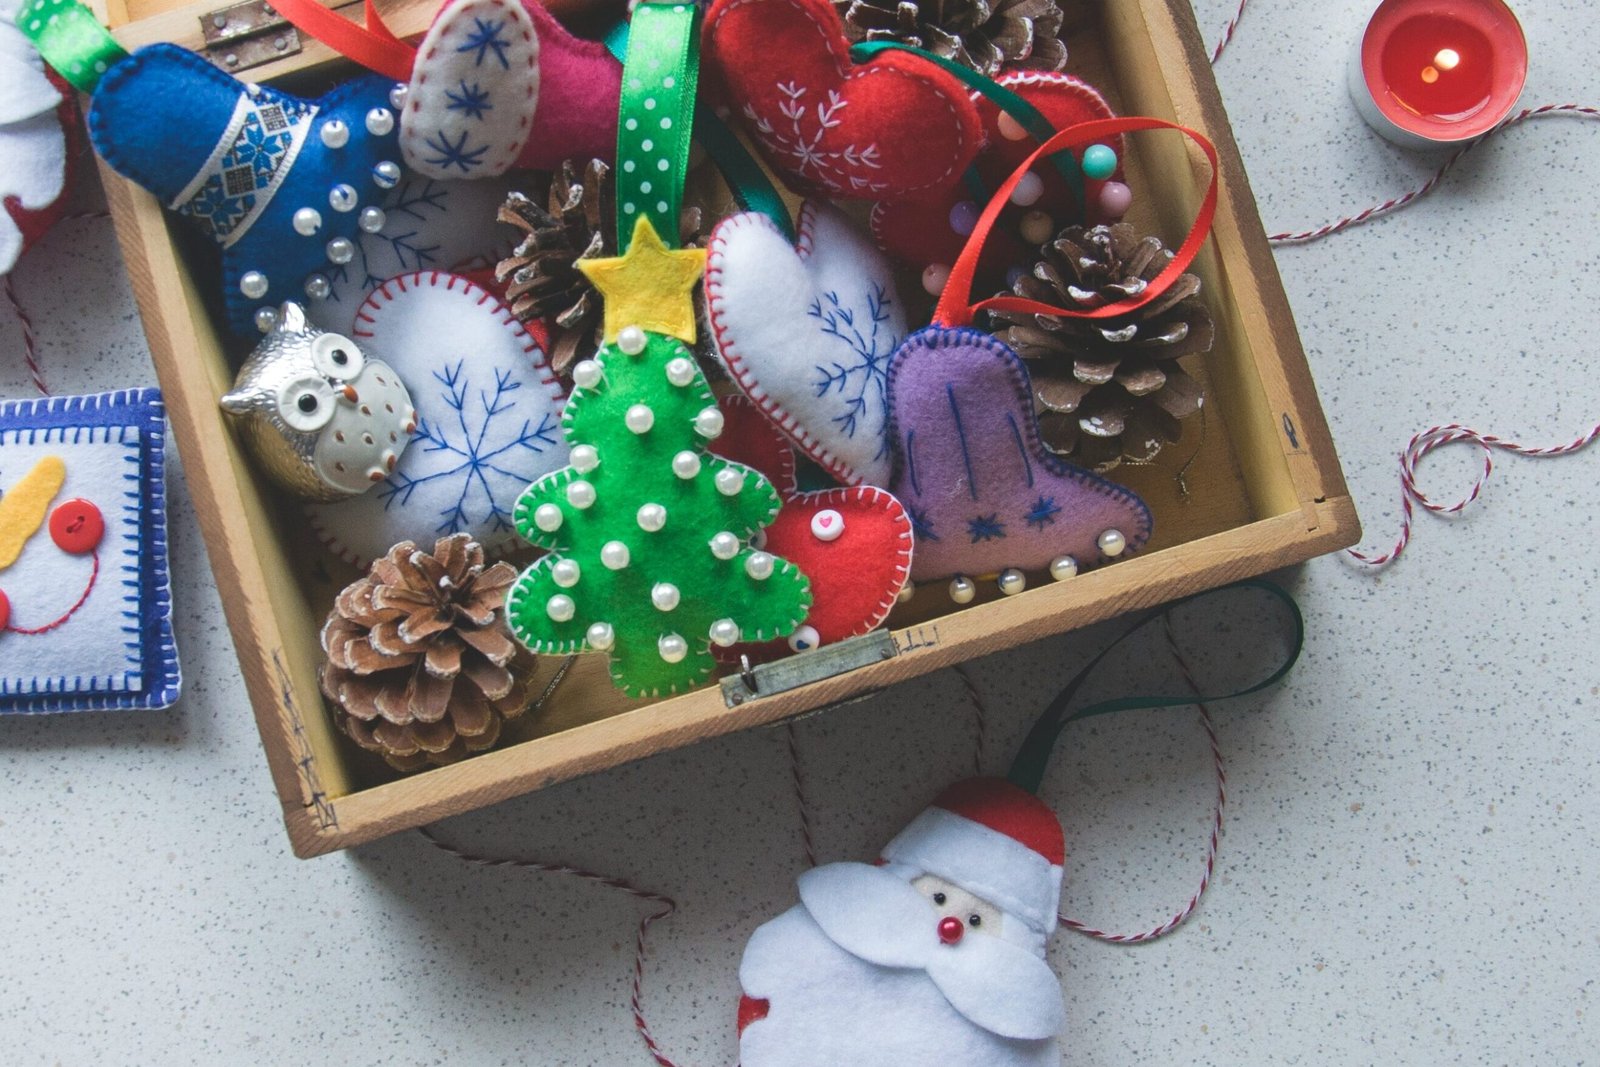
Once your DIY plush is finished, show it off! Take some cute photos and share them on social media with tags like #DIYplush #customplush #handmadetoy.
You can also gift your plush to a loved one — handmade toys always carry emotional value. Or, if you’re turning your hobby into a small business, use this as your first prototype for custom plush production.
Final Thoughts
Creating your own custom plush toy is more than a craft — it’s a way to express your creativity and capture memories in a tangible, huggable form.
From the first sketch to the final stitch, every detail is uniquely yours. So gather your materials, pick up that needle, and bring your imagination to life. Your next favorite plush might just be the one you make yourself!
